
Veneer sheets are very popular for offering aesthetically appealing, realistic-looking wood without using as much material. To understand why veneers can offer both a rich aesthetic and structural integrity to our homes today, it is important to understand the process of manufacturing veneers.
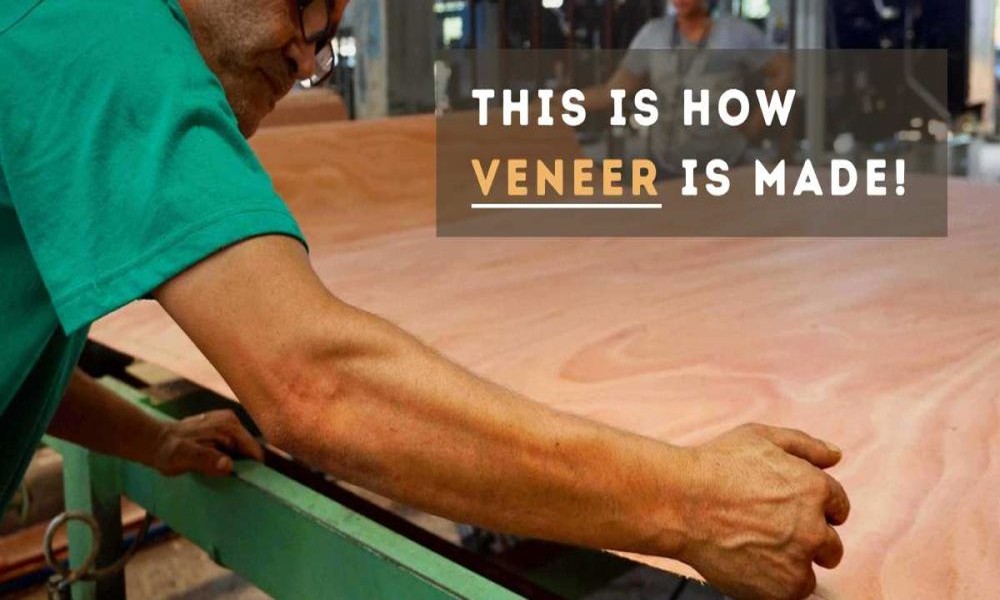
The following is an explanation of how a veneer sheet is manufactured, step by step.
1. Log Selection
The first step in manufacturing veneer is a meticulous process of selecting the highest quality timber or logs. The logs must be straight (free from defects) and have grain patterns that are appealing to the eye. Certain species of wood produce different looks for finished veneer products. Some examples are oak, walnut, teak, maple and ash veneer sheets.
The quality of the log being used will ultimately affect both the visual consistency of the veneer and the finished product’s durability.
2. Log Conditioning
Logs must be conditioned using either steam or hot water prior to slicing. Conditioning the log will soften the cell structure of the wood, making it easier to slice without cracking or splitting. Conditioning will also help the veneer to remain consistent in thickness as it is sliced.
Achieving smooth, evenly sliced veneer surfaces is important; therefore, log conditioning is an important step in the process.
3. Veneer Slicing or Peeling
After the log has been conditioned, it can now be sliced into sheets of veneer. Depending on the desired effect, there are many ways to slice the log:
Rotary Cutting: This method requires the log to be rotated against a knife blade to produce sheets of continuous veneer.
Plain Slicing: This will create an effect that is parallel to the growth rings. This produces a very natural-looking grain pattern.
Quarter Slicing: This method produces a very linear grain pattern.
4. Drying the Veneer
After the veneer has been sliced, there is still moisture in the sheet. The veneer sheets, at this point, must be dried properlyso aso not warp or shrink. The method used to dry the veneer is through industrial dryers. Controls are placed on the dryer to ensure dimensional stability and long-term durability for the veneer.
5. Grading and Sorting
When the veneer sheets are completely dry, they will be graded and sorted according to the following characteristics:
Sheets that rate as a higher grade will be used to produce products that are of a premium level and are often regarded as the best veneer sheet in India for high-end interior applications.
6. Joining and Stitching Veneer Sheets Together
Because of the thinness of wood veneer sheets, multiple sheets can be joined together to form larger panels. When joining multiple sheets of veneer to produce larger panels, book-matching and slip-matching methods are used to create a symmetrical and visually appealing appearance of grain patterns.
7. Bonding the Veneer Sheet to a Substrate
After completing the above steps, the final veneer sheet will be bonded to a substrate, such as plywood, MDF or particleboard, with high-performance adhesive products. The resulting laminate material provides both structural stability and the appearance of natural wood.
Conclusion
The process of how a veneer sheet is manufactured takes a considerable amount of attention to detail in all five steps of the process. These five stages are what provide the durability and beauty to the finished veneer. Royale Touche designs and produces high-quality veneer collections that have been manufactured with precision and consistency, providing homeowners and designers of both residential and commercial projects with outstanding veneer products for modern architecture.